Today I started with welding the upper part of the door post. A few small holes which seemed to be made with a chisel while renewing the quarter panel.
It didn't take much time to finish this.
So next I started with the disassembling of the rear of the car.
Removing the trim for the convertible top.
Removing the lights and some electric pats.
Dismounting the Trunk, rear bumper and a lot of other parts.
This blog is about a Ford Mustang recently bought somewhere in America an shipped to Belgium. At first the car looks pretty awesome. Here in Belgium we have a technical inspection where the cars is looked over in and out. To be able to drive the car on our Belgium roads it has to pass this inspection and here is where it went wrong. It did not pass The floors are poorly repaired and need to be redone.
Tuesday, March 15, 2016
Monday, March 14, 2016
Door Posts
Today I started with the Door Posts.
First I removed the Bondo with a old screwdriver.
Then I used a grinder with a wire brush fitted to remove the paint. The seem of the rear fender to the door post was flush It seemed that there was also bondo applied to fill the gap. So I removed it.
And I found some holes that were covered. Only on the passenger side.
Below you can see the Drive side after removing the paint.
Then with a grinder and a chisel I removed The bad part. To get access to the panel below I had to cut out a pice of the rear fender.
After cleaning the area I started with cutting a piece of metal to fit in the hole.
I tacked it in place and did so with the piece of the fender that was cut out. And the I finished welding it.
Next I ground the welds flush.
Then I did about the same with the bottom of the passenger side.
So tomorrow I will attack the upper of this door post.
First I removed the Bondo with a old screwdriver.
Then I used a grinder with a wire brush fitted to remove the paint. The seem of the rear fender to the door post was flush It seemed that there was also bondo applied to fill the gap. So I removed it.
And I found some holes that were covered. Only on the passenger side.
Below you can see the Drive side after removing the paint.
Then with a grinder and a chisel I removed The bad part. To get access to the panel below I had to cut out a pice of the rear fender.
After cleaning the area I started with cutting a piece of metal to fit in the hole.
I tacked it in place and did so with the piece of the fender that was cut out. And the I finished welding it.
Next I ground the welds flush.
Then I did about the same with the bottom of the passenger side.
So tomorrow I will attack the upper of this door post.
Thursday, March 10, 2016
Finishing the front
Today I grounded the remaining welds flat. There are however some welds that need some grinding but I can not access them with a normal grinder.
Next week I shall bring my own grinder to do those xelds.
The next thing i did was drilling some holes for the fenders and some other holes that were cut away.
And that's it for the front of the car. it looks like the welding is done.
So next week I will work on the bottom of the car and grind all the welds. And the doorway's need some cutting and grinding.
Next week I shall bring my own grinder to do those xelds.
The next thing i did was drilling some holes for the fenders and some other holes that were cut away.
And that's it for the front of the car. it looks like the welding is done.
So next week I will work on the bottom of the car and grind all the welds. And the doorway's need some cutting and grinding.
Wednesday, March 9, 2016
Passenger side
Today I turned mu attention on the frame at the passenger side.
I started with drilling out some spot welds to be able to remove the side plate on the frame.
Then the plate was removed and I got access to the rest of the frame.
The bottom was severely rusted and needs to be removed.
Then the edges are grinded to remove the surface rust.
A new section of frame was cut and fitted and welded in place.
A new cover plate was made and welded in place. Then all welds are ground flush to give a nice result.
I started with drilling out some spot welds to be able to remove the side plate on the frame.
Then the plate was removed and I got access to the rest of the frame.
The bottom was severely rusted and needs to be removed.
Then the edges are grinded to remove the surface rust.
A new section of frame was cut and fitted and welded in place.
A new cover plate was made and welded in place. Then all welds are ground flush to give a nice result.
Tuesday, March 8, 2016
Welding and more.
Today I started with welding the frame .
Then I cut some more pieces, fitted everything and welded it in place.
So after a few hours this is the finished frame.
Tomorrow we will continue with the other side.
Then I cut some more pieces, fitted everything and welded it in place.
So after a few hours this is the finished frame.
Tomorrow we will continue with the other side.
Monday, March 7, 2016
Frame repair.
Last week I cut out the rotted parts from the frame rail.
So Today I started with cutting, drilling bending and grinding to make some parts for the frame.
In the picture below the result. I also made a piece for the passenger side which will be addressed at a later time.
So the next thing I did was to fit the new frame rail in place.
I had to cut some parts a way and after a while it fell right in to place.
The next thing I did was tacking it in place and then welding it in place.
For today I did some welds but the most part will be welded tomorrow.
So Today I started with cutting, drilling bending and grinding to make some parts for the frame.
In the picture below the result. I also made a piece for the passenger side which will be addressed at a later time.
So the next thing I did was to fit the new frame rail in place.
I had to cut some parts a way and after a while it fell right in to place.
The next thing I did was tacking it in place and then welding it in place.
For today I did some welds but the most part will be welded tomorrow.
Friday, March 4, 2016
How do I fix this.
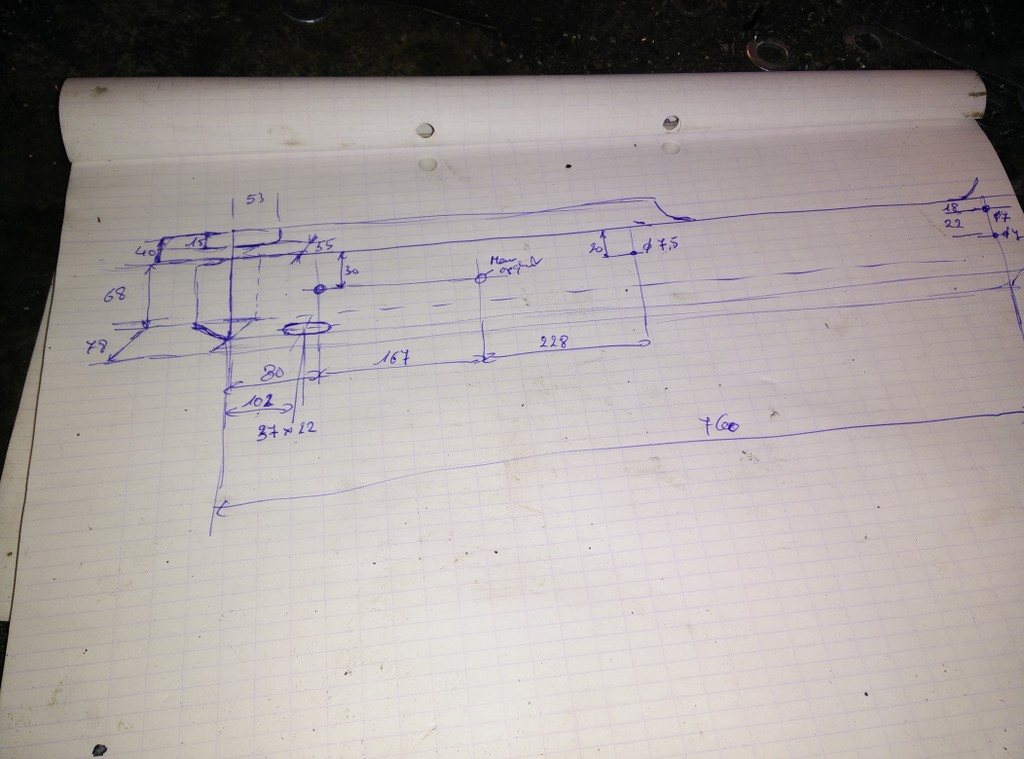
Today I started with taking some measurements and a doodle.
The repair that needs to be done on the driver side is extensive.
So I gave it a good thought and then started cutting and drilling all the bad parts away.
And this is what it is. A good portion of the frame is cut away.
Now we can start by making some new frame rail and fitting it in place and then welding it all together. And then start all over again on the passenger side.
The driver side is the worst.
The repair that needs to be done on the driver side is extensive.
So I gave it a good thought and then started cutting and drilling all the bad parts away.
And this is what it is. A good portion of the frame is cut away.
Now we can start by making some new frame rail and fitting it in place and then welding it all together. And then start all over again on the passenger side.
The driver side is the worst.
Subscribe to:
Posts (Atom)