Wednesday, August 31, 2016

The dashboard is sanded.

Today more small parts were sanded.
 The parts around the front lights are finished
 The parts above the taillights.
 The cover around the front lights
And because all of the other parts are out of the way I was able to sand the dashboard.
Now there aree a few larger parts waiting to be sanded.

Tuesday, August 30, 2016

Sanding some small parts

And the sanding continues...
 In order to get access to the dashboard I need to get some small parts out of the way. The best way I now? Pick them up, Sand them and put them on an other location.
So I started with the panel under the front bumper.
 Next came the part that sits above the front bumper.
 Next the part under the rear bumper.
 And then the part under the grill.
And the last part around the headlight.
Tomorrow we will continue.

Monday, August 29, 2016

Sanding with 1200

Today I continued sanding on the rear panel.
 After the sanding with 600 paper was done I switched to 1200 grid paper. I started with the rocker on the driverside and continued with the quarter panel.
 Then I sanded the quarter panel again and also the edge around the trunk and the top after the rear window.
 And worked my way to thepassenger side and the cowl.
On the rear panel some parts are sanded trough and I applied a new coat of filler.
All that's left is the dashboard that needs to be sanded.
But that is for the next few days.

Friday, August 26, 2016

The left and rear of the car.

Today I got time to sand some more on the car.
 I started immediately with the rear quarter panel.
 And then continued with the rear panel.
Here were some low spot and deep scratches left from the rough sanding paper. These spots were filled in with some putty and then sanded again until smooth
 While sanding on the car at some locations I sanded trough the filler I applied. Today on these spots a layer of primer was applied from a spray can.
 The rear of the car received some paint to
and the other side of the car.
Ont that layer I applied some sanding guide and these will receive some light sanding next week.

Thursday, August 25, 2016

The cowl is done

Today i did some overtime at work. This means that I did not have the time to done the things I planned to do.
However I did finish the cowl.
And had time to sand the doorwell.
Maybe tomorrow I can do some more sanding otherwise it will be for Monday.

Wednesday, August 24, 2016

The engine compartment

And yet a other day of sanding.
 I started with the vents in the cowl. It takes forever to sand them and I still have to do the other half.
The engine compartment is done, ready for paint. Including the front panel.
It looks I did not do a lot today but I can tell you that engine compartment has a lot of hooks and cranny's to sand by hand.
So tomorrow I will finish the cowl and start with the left side of the car.

Tuesday, August 23, 2016

The first parts are sanded.

Well today these are my work tools.
 My sanding block with 600 grid waterproof sandpaper and a bucket of soapy water so the sandpaper will not clog to fast.
 I started with the right rear quarter panel
 and worked my way to the front. The inner door well and rocker panel is ready.
And i had to end with the cowl.
That is where we will continue tomorrow.

Monday, August 22, 2016

Preparing for the next round

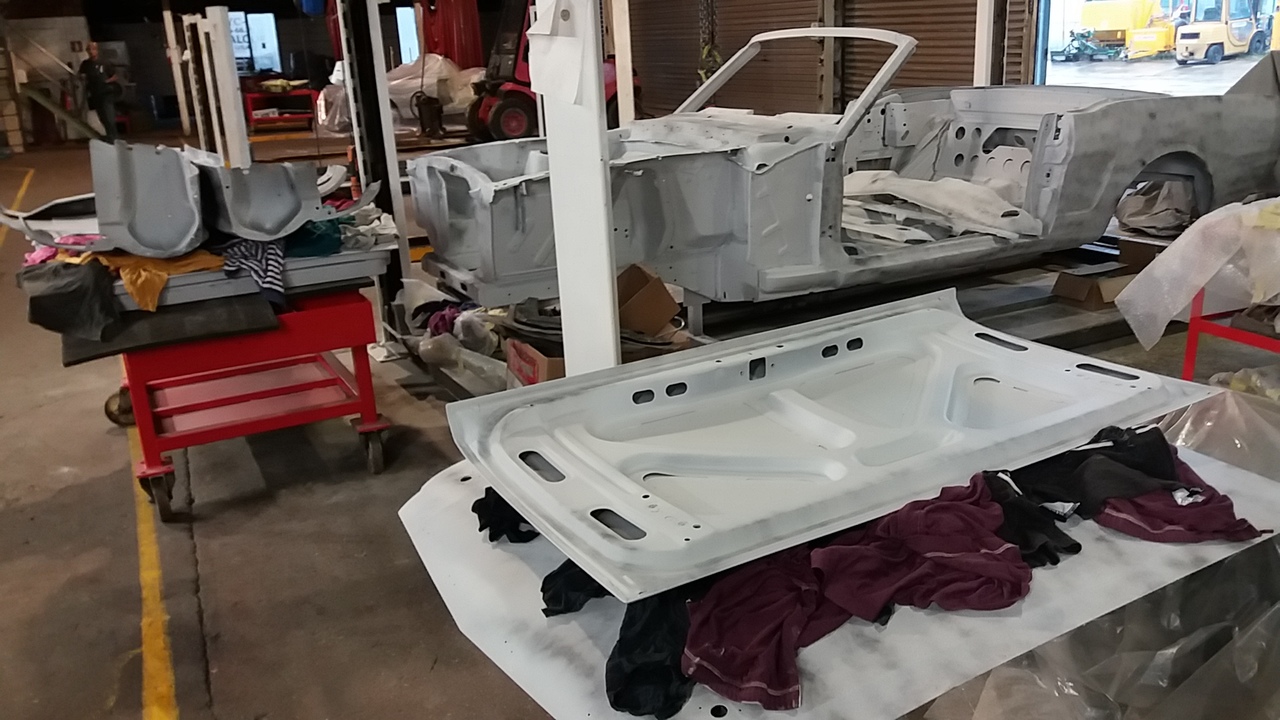
This morning I was early at work which enabled me to pull the car out the spraybooth to the garage.
 After everything was back on its place I did my daytime Job.
 At the end of it I went to the supplier to get the sandpaper I needed. But it was out of stock. They ordered it right away but it will be delivered not sooner then Thursday. So tomorrow I will bring my own just to get started.
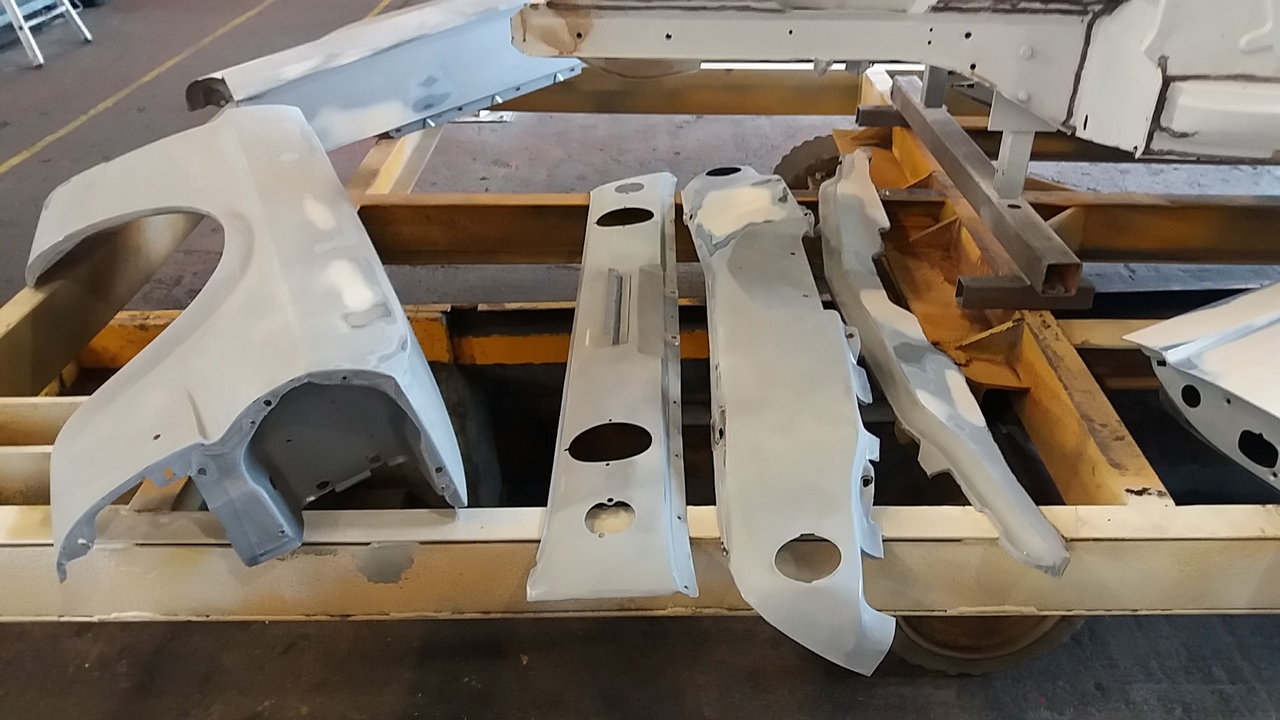
Will putting all the parts at there place this morning I noticed that some area's did not receive the paint they should. So These parts got a coat of filler applied by a brush.
These parts are the inside of the fender near the door.
The lower point of the rockers.
 And the inside of a quarter panel.
 I also remembered that there are some more parts that needs to be painted.
Some parts of the front suspension. The hinges of the front and rear hood. Etc...
I put them all together so I will not forget them.
On the inside of the door there is a tag. With some codes on it. One of them is the color code and I looked it up on the Internet. Its the nr 4 which stands for silver frost.

Friday, August 19, 2016

Filler is on the car.

The first thing I did today was to transport the car to the spraybooth.
 Her we are on the forklift truck moving the large cart to the spraybooth.
 As soon we arrived we started to Hang all the parts up and lay some on parts on a grid.
 Next all parts are cleaned and degreased with silicon remover.
 Then I started the application of the filler with the following results.

 There are some parts where the paints has sagged due to poor visibility in the spray booth. Probably the parts were hanging to close or the poor lighting .
 After the paint has dried I applied some guide coat.

So you know what is following next week. More sanding.

Thursday, August 18, 2016

Ready for transport

Today I made everything ready for transport to the spraybooth.
 I started with vacuum cleaning the in- and outside of the car to remove as much dust as possible.
 Next I wheeled in th large cart
 And the the car is put on it with the hoist.
 I then pulled the cart outside and used compressed air to blast the last bit of dust out of it.
 After I put the cart back inside I vacuumed the inside once more to be sure everythingis gone.
 Then all the parts that needs painting was dusted with compressed air and layed around the body.


That are a lot of parts that needs paint and it will go on tomorrow if everything goes right. My paintgun is already packed.