Thursday, October 27, 2016

wheels

Today I stopped early at work so I had a lot of time for the car.
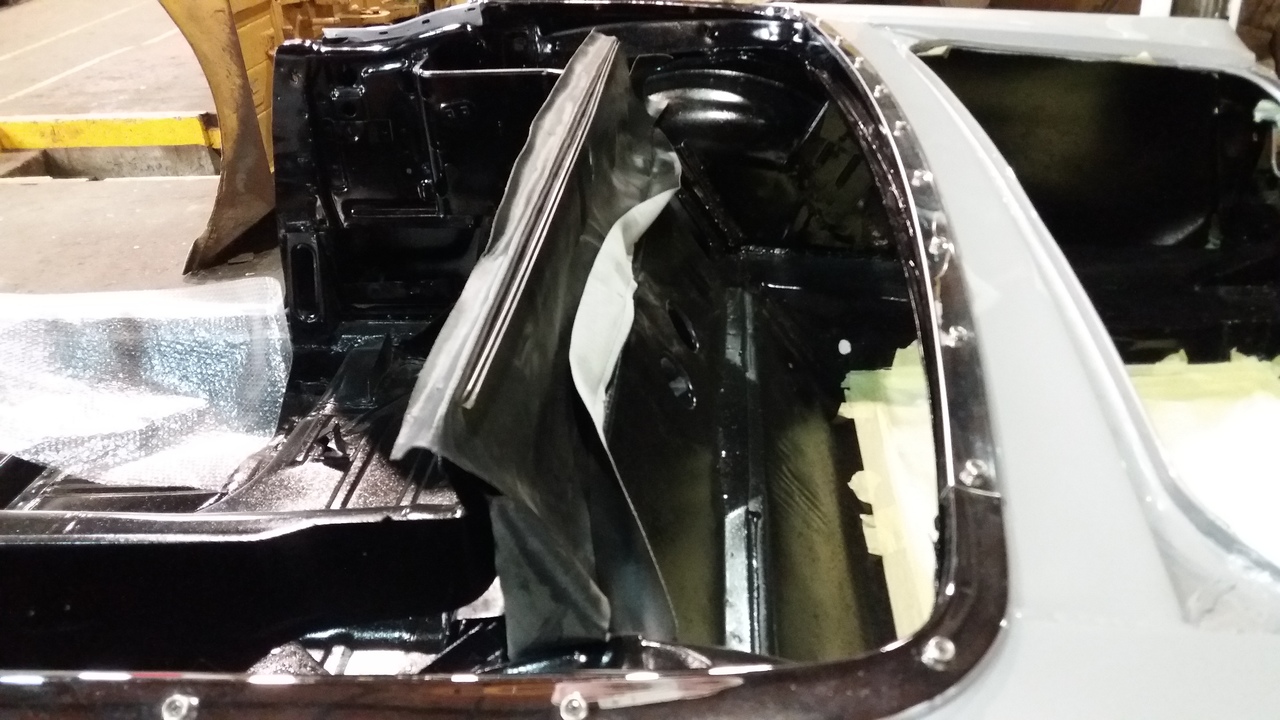
The first thing I did was finishing the sound deadening placement in the car.
 And then I got the fuel line and removed all the crud from it  Sanded it and painted it with a Galvanic paint.
 While the paint is drying I took the rear axle and put it on the transmission stand. I made sure that it was firmly hold in place with some straps.
 In the mean time the fuel line was dry and I mounted it in place. Then I positioned the rear axle under the car, placed some rests under the car and removed the stand that the car was resting on at the rear.
 Then the axle was bolted in place the springs were mounted and the chock absorbers were mounted. The sway bar was mounted to the chassis and then I mounted the rear wheels.
At the front of the car the frame supporting the chassis was removed and the wheels are mounted in place.
So now the car is back on its wheels again after almost a year.
 This is a picture from the other side.
 And one from the underside.
 And an other one from the rear.
 Next I bolted the clutch back to the engine and mounted the starter motor. I then looked at the Hand break cable and it should be replaced. I will be mounting a new cable soon, before I can bolt in the transmission.
 So for now I continued with the interior of the car. Laying the rear wire loom bakc in its place.
And then the day came to an end.
That's it for this week. Next week after the holiday we will continue.

Wednesday, October 26, 2016

More sound ...

The installation of the sound deadening is progressing in a positive way.
 The passenger compartment is fully installed.
 Even under the dashboard and on the firewall.
 I also almost finished the luggage compartment.

Tuesday, October 25, 2016

Sound deadening

First I made some rollers to force out the air.
Then I started laying the Sound deadening mats in place.
I also had to install some metal drain plugs. They where first painted the body color before they where installed and locked down with some small metal screws.
 Then I could apply the sound deadening on top of it.
In this picture you can spot some of the rollers I made. The floor of the passenger compartment is almost done.
The rest will be for tomorrow.

Monday, October 24, 2016

injecting

Today I started with trading in some bottles of Anti Gravel with Sealer Wax for the inside of the Frame rails and hollow spaces.
 So today I injected all the hollow spaces that are hard to reach for the paint gun to protect these parts from rusting.
After all that was done I started with installing some grommets to seal the necessary holes.
And today the sound deadening material arrived.

Wednesday, October 19, 2016

It happens

I started by mounting the end pieces above the rear bumper and lights.
Next I mounted the taillights.
 At first nothing seemed wrong. But then I noticed a gap at the taillight on the left side. And by trying to push it back it popped and the paint cracked.
 So I'm feeling very bad. The rear panel has to be repainted.
But not just yet. Later on when the car is almost completed and we are sure nothing else went wrong.
Despite feeling bad we have to move on. I also mounted the springs back on the trunk lid hinges and put the gastank back in its place I do have to find some more screws to fasten it securely in place.

Tuesday, October 18, 2016

The trunk.

Today I started with the piece under the rear bumper.
I mounted the rear driver lights and the exhaust chrome.
And then mounted the piece on the car.
 Then I decided to empty the trunk. Both doors were layed in there.
 All paper was removed and I started mounting the cover between the rear seat and top cover.
 Next I Painted some parts. The hook that catches the trunk lock and the spring that hold open the trunk lid.
 And then at last I mounted the hinges in the car.
The rest will be for ...

Monday, October 17, 2016

First Chrome on the car.

Today I mounted several parts back on the car.
 The Hinges for the doors went back on. The screws however are not yet tightened. I need to move them again while mounting the door and fenders.
Also the small triangular bracket is mounted to mount the fender.
 In the engine compartment I mounted a small reservoir for the airco and was able to mount the hose to the airco cooler. Some electrical connection are made and the hinges for the hood was mounted .
 Next a few small parts are mounted like a dust cover and the door catch.
Then the first chrome was mounted on the car.

Friday, October 14, 2016

Front suspension complete

Today I did some shopping.
Several parts we need to mount the car are in and some parts are ordered and should arrive in the next 3 weeks.
I also went to the paint supplier to get some spray paint cans in the body collar.
 
 But first I emptied the passenger compartment of the car.
 Next the brace I cleaned earlier was painted with transparent paint.
And then the battery tray was mounted in place.
 After the paint dried we mounted the brace in place. So now the complete suspension is ready, almost.
The dust caps of the ball joints need to be renewed. I got them today and will mount them during next week.
 Next I took some bolts needed for the fitting of the hinges and cleaned them with the wire brush. I put them trough a cardboard piece.
 Next the base coat was applied
And when the paint has dried I sprayed on a clear coat.

Tuesday, October 11, 2016

Making some bolts

Today I first made some electrical connections that I did not get done yesterday.
Then I searched for the blots to hold the end caps on the chocks.
 The bolt that was used was a slot bolt of a rather suspicious grade of metal. So I decided to make my own.
I took some bolts 3/8" UNC and a few washers of 14 mm. The head of the bolts fit it the 14 mm hole and will be welded to the bolt.
The washer was cut to a square, the bolt was welded and to the washer and a piece of angular rod was welded to the washer to fit in the slot.
 Next the bolts are spray painted with some galvanic alu paint to protect it from rusting.

 Next the chrome reinforcement to mount under the shock caps was cleaned with some Coke and alu paper to remove the rust. All it needs is some protective coat of clear to prevent it from rusting again.

Monday, October 10, 2016

More parts added


A other week and a other day.
We continued where we ended last week.
Mounting more parts and making more electrical connections.

Thursday, October 6, 2016

Engine and electrics

So today we continued with the fitting of all the components in the engine bay.
 We fitted and connected the radiator and the radiator for the air cooler.
 We also fitted the wire loom for the different electric components in the engine bay.
And we also installed a lot of different electrical component.
Next week we will continue.

Wednesday, October 5, 2016

The Engine

Today I mounted the shock absorbers.
However, in order to complete the front suspension I will have to put the engine back in place. before I can mount the the top brace between the shock towers.
 So the first thing I did was to remove the small wheels on which the car was standing.
 On both the front and the rear. Those little wheels would probably co-laps under the wait of the engine.
 Then I cleaned the engine of any visible debris on it.
 The engine bay was covered with bubble plastic to protect the paint and the engine was dropped in place.
Then I installed both headers connected the spark plugs and the oil lines for the power steering.
And then it was time to go home. Tomorrow we will proceed the operation.

Tuesday, October 4, 2016

Front suspension.

Today I continued with th installation of the front suspension .
The right side,and
 the left side are in place. most of the bolts are tightened and
the sway bar is in place and secured.
So tomorrow we will proceed with the next step.